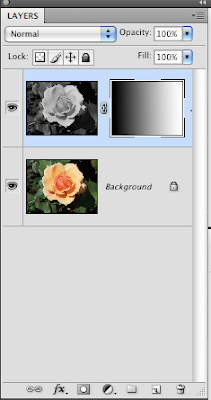

To make a gradient mask open a color image.
1. Press command a, command j to make a new new layer with a duplicate image.
2. You need to change the new layer into a black and white photo. Click image->adjustments->desaturate.
3. At the bottom of the layers tab click add layer mask (it looks like a grey rectangle with a white circle in it)
4. Click the gradient tool on the side of the screen. You need to have the following settings-the gradient needs to be "foreground to transparent"-mode is normal-opacity 100%-the foreground/background color boxes towards the bottom of the tool bar need to be black on top of white (if they are not, click d on the keyboard)
5. Choose the type of gradient you want, linear, round, etc. Click on the grayscale image and drag your curser across the screen then release. Where you start and stop determines the gradient's placement. If you don't like how it looks, click command z and redo it.


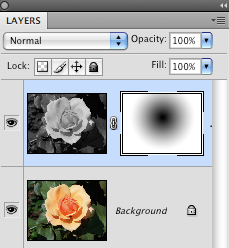
This example uses the radial gradient setting and is basically done the same way.

No comments:
Post a Comment