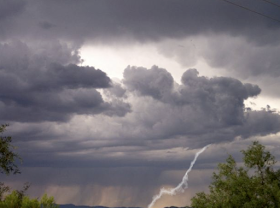

I got this nice rainy photo from the Morgue File.
make a new layer
press the d key to make the foreground/background black and white.
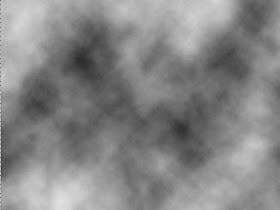
filter->render->clouds
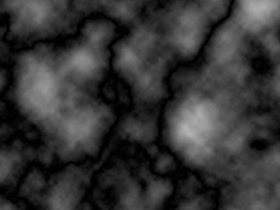
filter->render->difference clouds
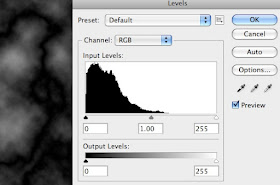
command L to bring up levels
move the white slider to the left
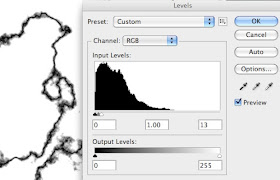
The middle grey slider is your glow. When you are happy with the effect click OK.
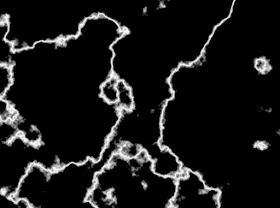
You want the lightning to be white so invert the image using command i
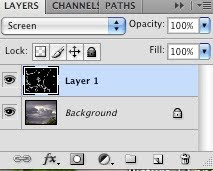
change the blending mode to screen
add a layer mask by clicking on the rectangle with a circle in the middle
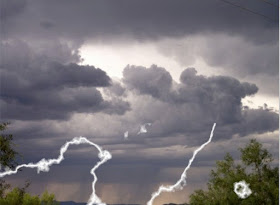
The lightning will cover the entire image so use the v key to activate the move key and use your mouse to shift the lighting until you are happy with the placement.
Press the d key, if the black color box is not on top, press x and they will exchange it with the white and bring it on top.
You need the paint brush to paint out the unwanted lightning so click the b key, use the left and right [ ] to get the brush to the size you want. The black will remove the unwanted elements. The opacity should be at 100%
If the desired lightning is too bright, paint over it with a lowered opacity. I used the 5 key to make it 50% and then lightened it more close to the clouds to help it blend in.


No comments:
Post a Comment