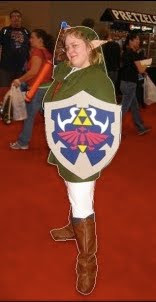
Sometimes a photo has too much going on in the background and it's distracting from the focus of the image.
I chose to use the pen tool to make a clipping mask so that I could blur the background (I also inserted her in front of a dragon with the same clipped image).
I like the pen tool because it gives a smooth, sharp edge but it's only practical for edges that are not overly intricate.
Go to file->open and select the photo you want to work with. Make a duplicate layer of the source photo.
Magnify the image so that you can see the edges clearly, command + or the magnify tool works well for this.

Use the pen tool to draw a line along the area you want to mask. I like to stay slightly inside the image to avoid having a pixilated (stair stepped) edge.
Option click (alt for windows users) on the anchor point when you change directions and option click on the final anchor point to close the path at the end. Pressing the space bar temporarily changes the tool to one that allows you to move the image.
You can adjust the path with the handles but I usually try to drag the curves out where I want them to minimize changes. The fewer points you make, the smoother your line will be. Try not to click on the smooth part of the curve since that will give you a more elegant line.

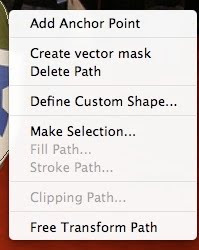
With the pen tool still selected, right click on the line and click make selection.

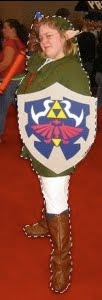
Now you have a dashed line (some call it marching ants), this is your clipping path. Press command c or edit->copy to save the selection.

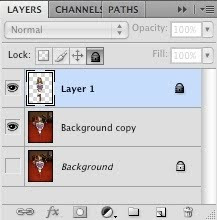
Make a new layer and paste the clipped object onto it using command v or edit->paste.

Save the file since you don't want to have to make the path again; now you can play with the background. The image can be inserted into another photo or you can alter the background with effects. I chose to activate the background copy layer and apply a blur by going to filter->blur->Gaussian blur.


No comments:
Post a Comment