
It's nice to show what your framed artwork would look like, particularly if you want to sell it on Etsy or some other venue.
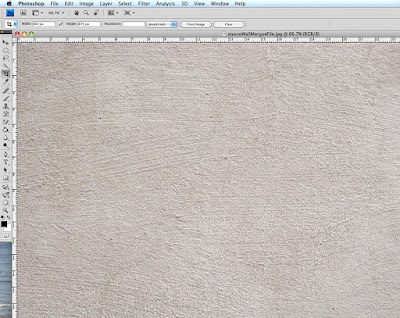
You can use any photo of a wall, I found this one on Morgue File, it's a nice source for free images. You open the background photo in Photoshop. I keep the icon on my dashboard and simply drag the photo onto the icon.
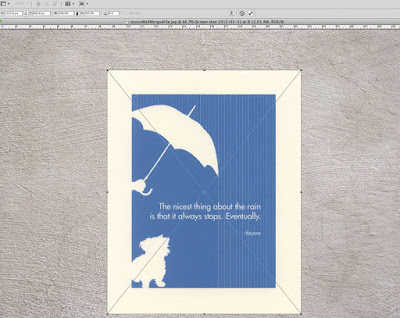
Now you want to put or art on top of the background photo.
file->place->image
drag it into position and click the check mark to place it on the page
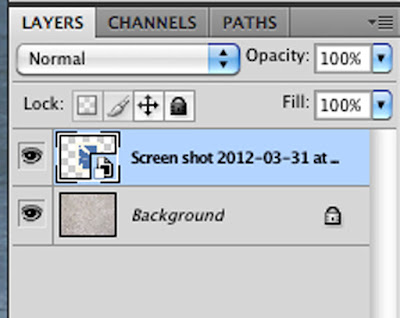
This is what the layers palette will look like on CS4. Note the second image is on it's own layer. The file names will be different. It's good to give files better names than the one in the example.
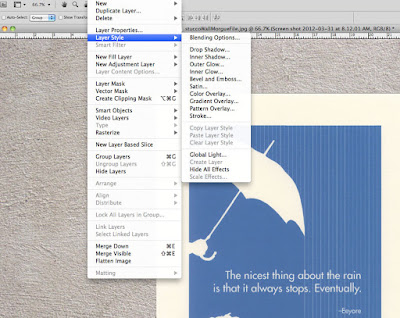
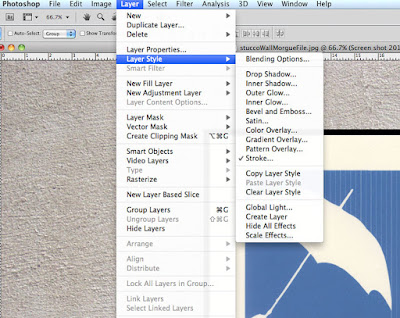
Now we give it a fake frame. Go to layer->layer style->stroke.
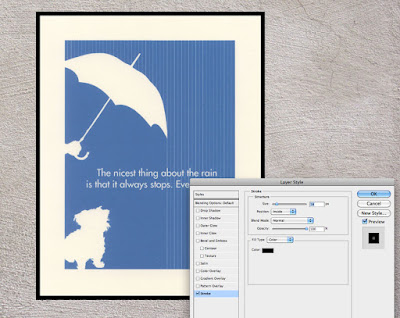
Make sure preview is checked. Choose the size color and position. The stroke can be centered, inside or outside. I like inside since you would lose some of the image in a framed piece.
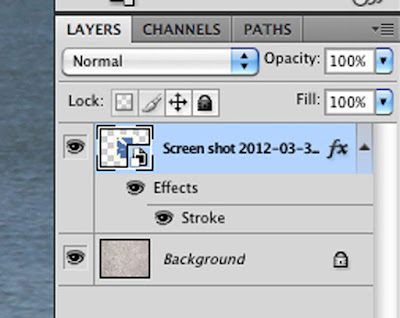
You can now see the stroke indicated in the layers palette.
A real framed picture would have a shadow so go to
layer->layer style->drop shadow
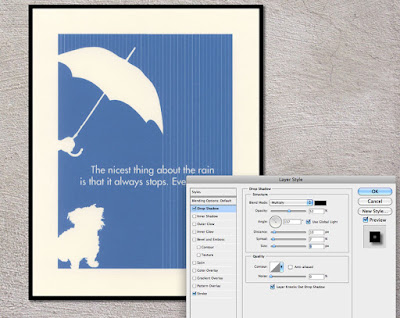
check the preview box
choose the opacity and distance that looks good with your image. Don't forget to adjust the angle. I like my light source to be on the upper left which gives me a shadow on the lower right.
click OK
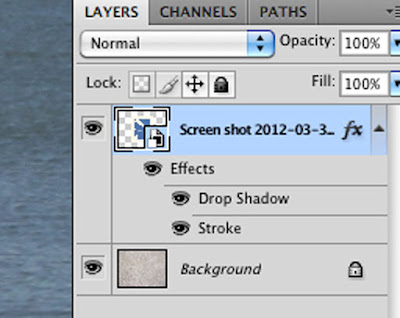
You now see the drop shadow indicated on the layers palette.
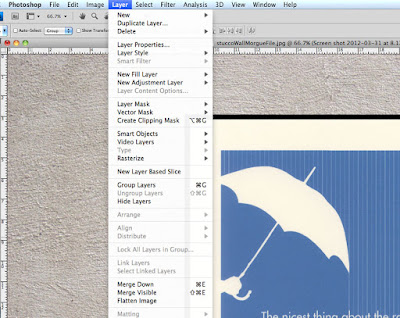
layer->merge down
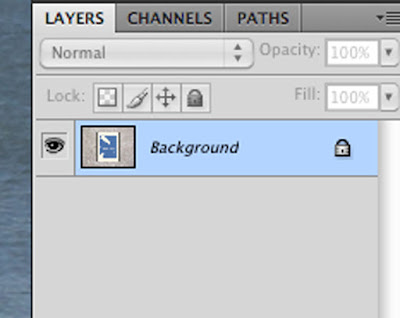
Note how the layers palette has changed.
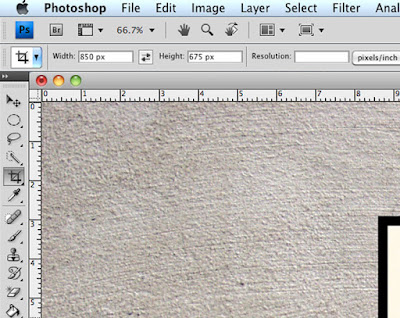
To crop the image click the square with a diagonal line through it and indicate the width and height. You can can choose pixels or inches, since this is going on the web I picked pixels.
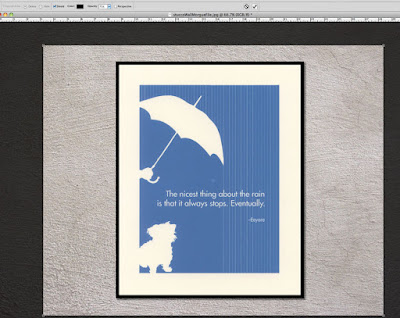
Drag your cursor across the screen. When you are happy with the size and position, click OK. The circle with a line through it allows you to redo the crop.
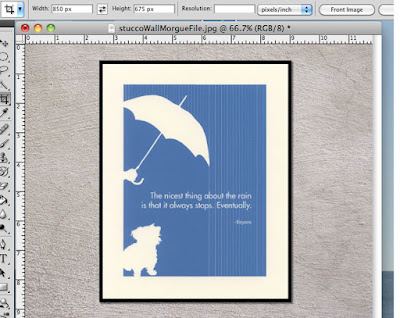
Ta Da, it's cropped. Now you need to save it.
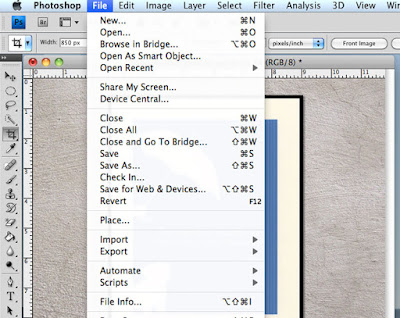
To save it for the web go to
file->save for web and devices
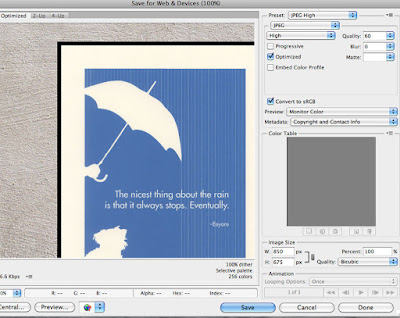
Check your settings and then click save
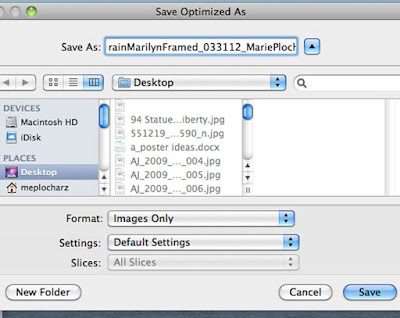
Name your file and choose where you want it saved. Click save.

Available on Etsy


