
You don't have to use sharpen filters to sharpen a photo. This photo has a small blur and I just want to do a simple sharpen.
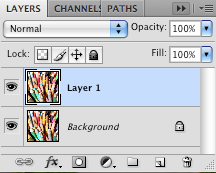
command j to make a new layer
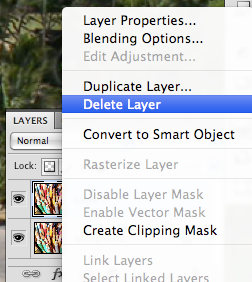
right click on the new layer and click convert to smart object
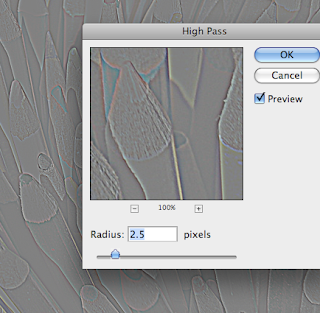
Go to filter->other->high pass
High pass is an edge detection filter; anything not edge becomes 50% grey. I have the radius set to 2.5 as a starting point. Click OK
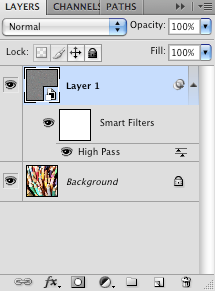
The smart filter has it's own blend mode dialog box. Click on the icon to the right of the word high pass (it looks like a teeter totter)
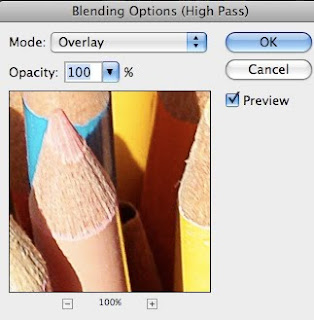
Choose overlay as the blending mode and the grey screen disappears. Click OK.
The nice thing about this being a smart object is if you are not happy with the results you can double click the word high pass and it will bring up te high pass screen and you can readjust the amount from the previous 2.5 pixel radius.

Here are the pencils after sharpening; no pun intended, well maybe...
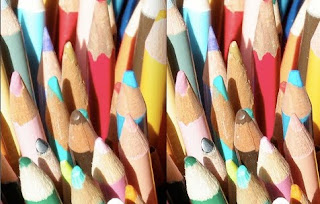
Left is before, right after

No comments:
Post a Comment